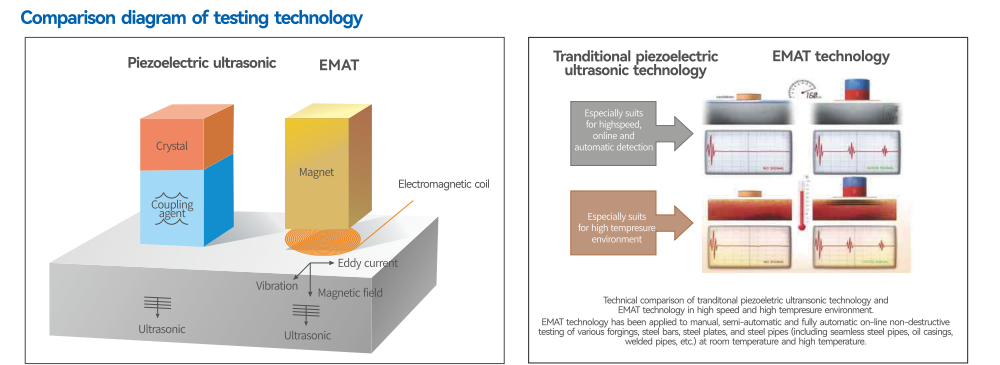
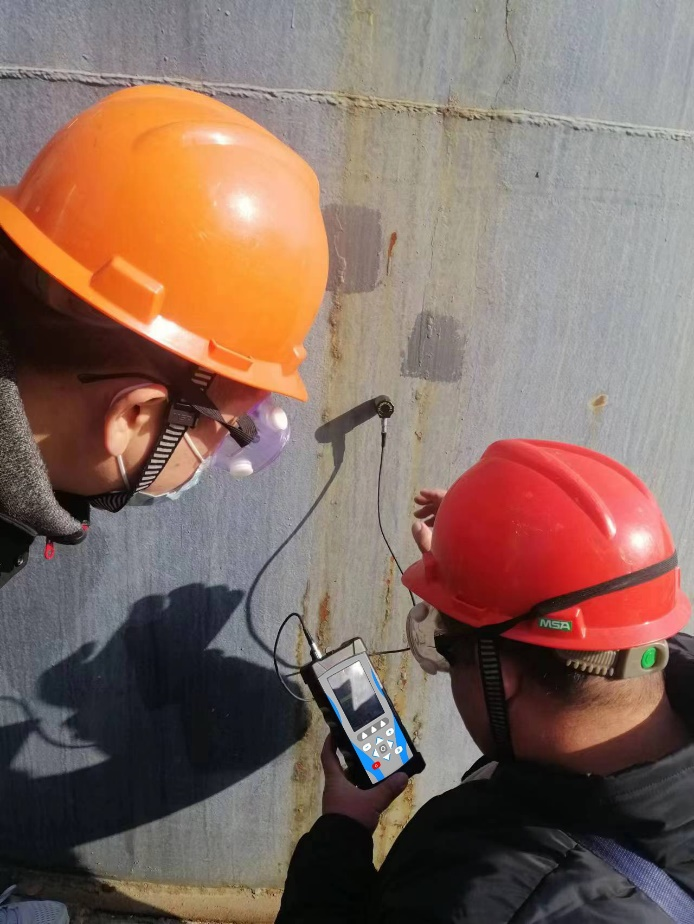
●No need for surface polishing, penetration of anti-corrosion coating and rust, and no need for coupling agent.
●Optional high temperature probe to detect high temperature components at 800℃.
●Measurement non-perpendicularity (transducer/probe to the normal line of the object to be tested) is up to ±25°, which requires less perpendicularity after the probe is placed.
●Built-in database of basic material s-wave sound velocity, and can customize s - wave sound velocity value.
●It can store 50000 thickness values and 4000 A-scan or B-scan data.
●Measurement data can be transmitted via USB to the upper PC for analysis and management.
This non-contact thickness gauge is used to measure the tube/plate/bar of steel and steel alloy and the tube/plate/bar of aluminum alloy without surface polishing and without using coupling agent,sensor and the interval between the test object up to 4mm. The thickness can be measured directly through the paint, varnish, anticorrosive layer, enamel and plastic.

Functional features
●This non-contact thickness gauge is used to measure the tube/plate/bar of steel and steel alloy and the tube/plate/bar of aluminum alloy without surface polishing and without using coupling agent, sensor and the interval between the test object up to 4mm. The thickness can be measured directly through the paint, varnish, anticorrosive layer, enamel and plastic.
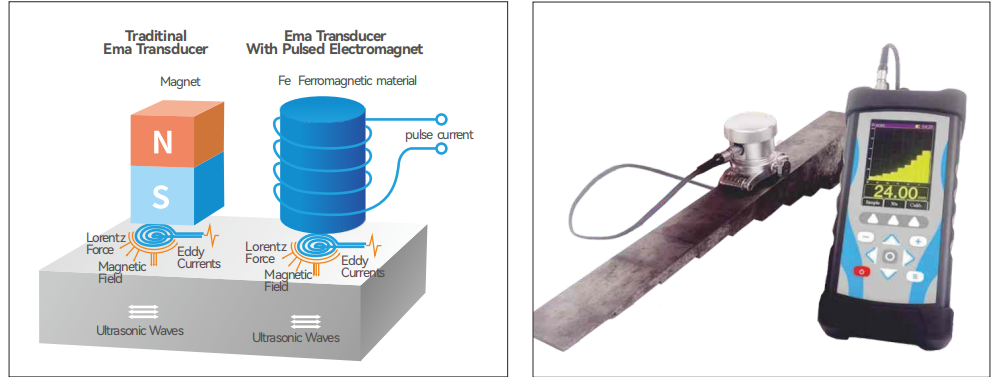
●Pulse probe at Normal temperature uses pulse electromagnet, basically no magnetic force; The weak permanent magnet is used for normal temperature and high temperature permanent magnet to replace the strong permanent magnet. It completely solves the problem that EMAT transducer suction is too large and difficult to remove, thus making manual spot inspection easier and safer.
lWith the function of temperature compensation, the actual temperature range of high-temperature components can be input to automatically compensate the change of sound velocity, making the thickness measurement more accurate.
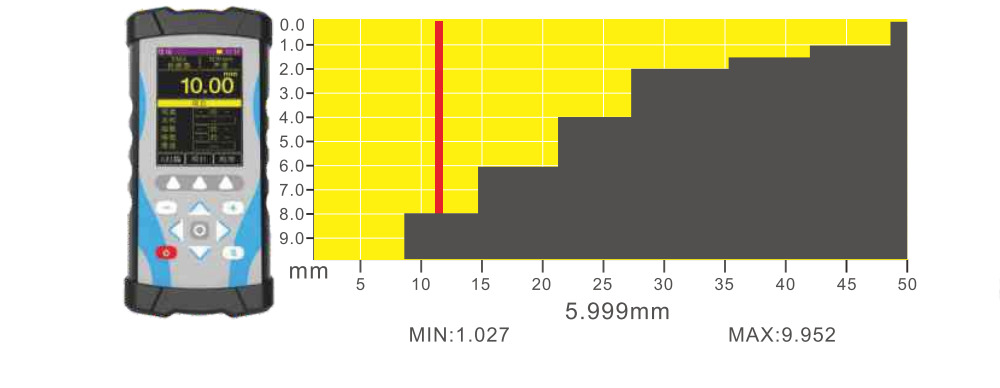
lIt has the function of showing thickness measurement results in A scanning form and (time-based)B scanning image form and storing and querying, and allows users to set measuring parameters such as gate, thickness measurement mode and signal processing.
lUsing expert intelligent algorithm, there are three thickness measurement modes: automatic mode, single gate manual mode (single peak value method), double gate manual mode (peak- peak value method).It greatly reduces the influence of human factors and simplifies the operation steps.
lThe back is integrated with bright LED light, which is convenient for on-site lighting.
lA wrist band is integrated on the back for easy one-handed operation.
lAC-DC hybrid power supply, built-in rechargeable lithium battery can work continuously ≥9 hours.
lFully sealed IP66 dustproof and waterproof design, silicone sheath anti-drop and anti-vibration design, more suitable for bad working conditions.

Thickness measurement | Accuracy 0.04mm with range 1.5~100 mm(steel, stainless steel), 0.1mm with range 100~200 mm(steel, stainless steel) , high temperature compensation thickness measurement accuracy 2%. |
Minimum resolution | Flat bottom blind hole Φ5mm |
Working gap/lift | Normal temperature permanent magnet probe ≤4mm, normal temperature pulse probe ≤2mm, high temperature permanent magnet probe ≤4mm |
Measurement unverticality (transducer/probe normal to the object under test) | ±25° |
Excitation frequency | 3.0~3.9MHz |
Minimum diameter of curvature | ≥6mm |
Sound speed range | 1000~9999 m/s, adjustment increment 1 m/s |
Gate function | Automatic gate, manual single gate, manual double gate |
Display | Color LCD, 3.5 inch /320×480 pixel |
Communication interface | USB2.0 |
Size and weight | Height 195×width 90×thickness 40mm, ≤690g |
Normal temperature pulse probe | Pulse type electromagnet, the magnetic suction≈0N, circular Φ30×high 44mm, weight≤60g, line length 0.8m |
Normal temperature magnetic probe | Weak or less permanent magnets, the magnetic suction≈15N, circular Φ30× high 44mm, weight≤80g, line length 0.8m |
High temperature permanent magnetic probe | The magnetic suction≈20N, circular Φ45 × length 300mm, weight ≤370g,line length 0.8 m |
Working temperature | Normal temperature probe -10~+60℃, high temperature probe -50~+800℃(-50~+310℃ can be continuously measured without special cooling; At +310~800℃, each measurement time ≤5s, cooling interval time ≥15s) |

Item | Name | Quantity&Unit | Remark |
1 | Instrument host (including charger) | 1 Set | / |
2 | Normal temperature permanent magnet probe DEU100-EMA (containing the probe line) | 1 Piece | / |
3 | Normal temperature pulse probe DEU100-IMP (including probe wire) | 1 Piece | Optional |
4 | High temperature permanent magnet probe DEU100-HT | 1 Piece | Optional |
5 | Standard test block (carbon steel circular Φ30 × thickness 10mm) | 1 Piece | / |
